Vacuum Pad Maintenance: A Practical Care Guide for Newcomers to Vacuum Handling
When I started in pneumatics, my supervisor told me something I did not fully appreciate until years later: "A suction cup does not wear out on its own. It just gets neglected until it fails."
Most of the failed vacuum pads I have seen on shop floors were not beaten into submission by hard work — they were ignored into retirement. This guide is written for engineers and technicians who are new to vacuum handling and want to keep their suction cups running longer with less drama.
Know the Warning Signs First
Before you build a maintenance routine, you need to recognize when something is off. Too many people wait until the pad drops a workpiece before they investigate. By then it is too late.
Watch for these six signals:
- Cycle time creeps upward
- Occasional grip failures or slippage
- The sealing lip looks glossy or oily
- Visible cracks or distortion on the lip
- Workpieces start showing marks after handling
- Vacuum gauge reads more than 10% below the value recorded at first commissioning
Any one of these is enough to stop and investigate. Do not wait for the dropped part to make your day.
Daily: 30 Seconds Is Enough
Maintenance is not a big project. The most important things take less than a minute.
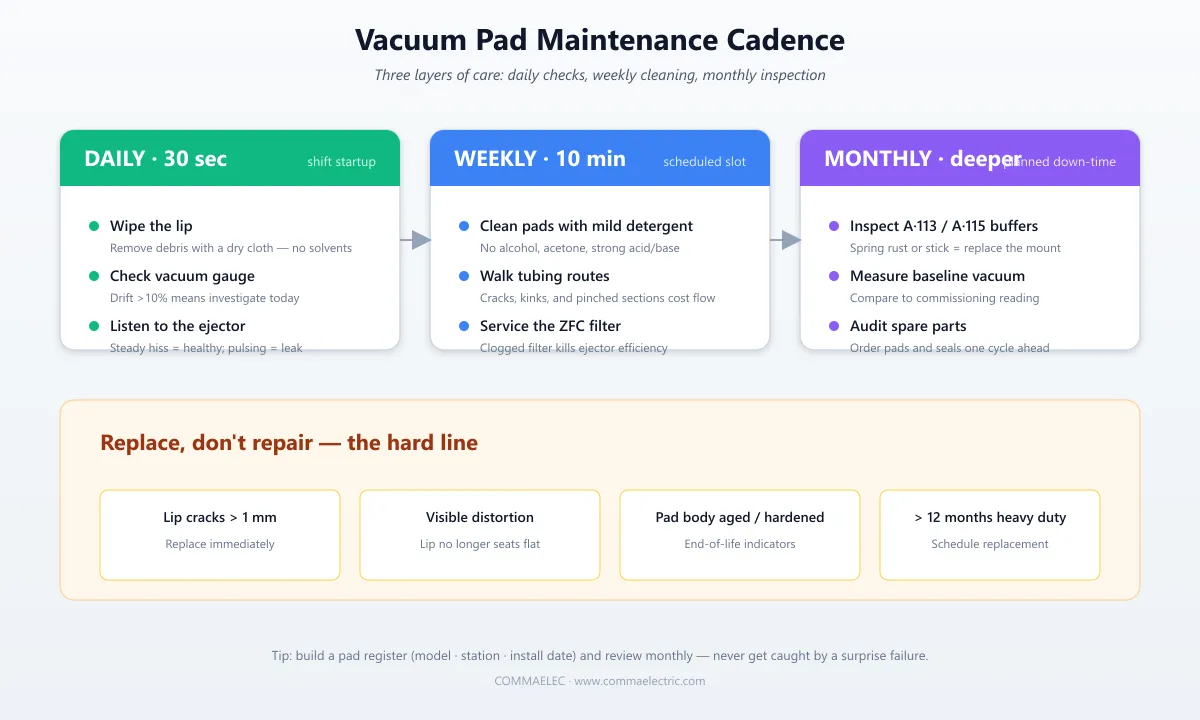
Look at the lip before startup. Debris from the previous shift — packaging scraps, paper dust, oil film, swarf — destroys the seal. Wipe with a clean dry cloth. Skip the solvents; dry cloth is plenty.
Glance at the vacuum gauge. Most setups have a gauge near the ejector. Note the reading when the system is freshly commissioned. Compare daily. Up to 5% drift is normal noise. More than 10% means something has changed.
Listen to the ejector. A healthy vacuum generator has a steady hiss. If it gets louder, duller, or starts pulsing, you probably have a leak somewhere or a clogged filter.
These three checks together take around 30 seconds and count as a daily health check for the whole vacuum circuit.
Weekly: 10 Minutes Is Plenty
Block out a fixed slot once a week and run through this list.
Clean the pads. Wash with warm water and a mild neutral detergent. Avoid alcohol, acetone, strong acids, and strong bases — these degrade NBR, silicone, polyurethane, and most elastomers at the molecular level. NBR swells in some solvents; silicone gets brittle in strong acid.
Air-dry naturally or use a low-pressure air gun. Do not blast a high-pressure air gun at close range — you will deform the sealing lip.
Walk the tubing route. Look for cracking, hardening, kinks, or pinched sections. Pinched tubing is one of the most common silent failures in pneumatic systems: tubing that gets trapped under cable trays or pressed by moving axes slowly develops a "dumbbell" cross-section inside, and flow losses can exceed 30%.
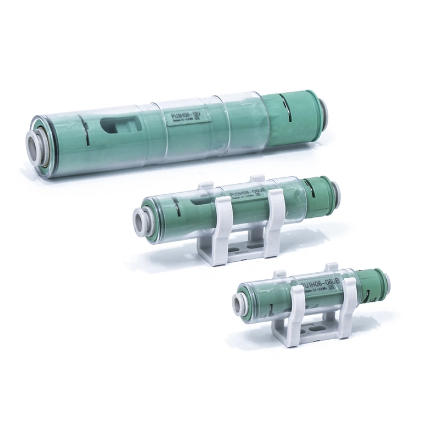
Clean or service the vacuum filter. COMMAELEC's ZFC series vacuum filters and HFL inline filters have a transparent bowl. When it discolors, service it. The filter is essentially the lung of the vacuum system — when it is choked, the ejector works harder, draws more energy, and dies younger.
Monthly: A Bit More Thorough
Monthly checks go a level deeper.
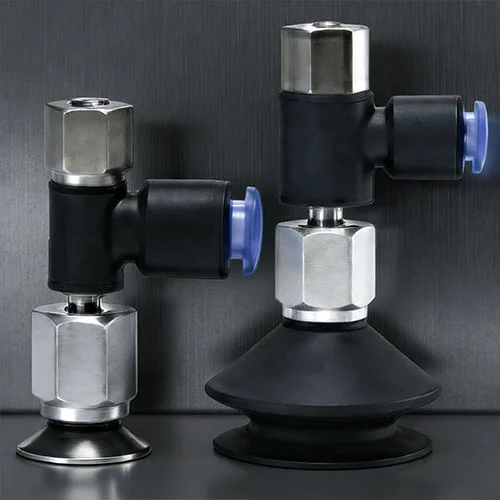
Inspect spring-loaded mounts. COMMAELEC's A·113 internal-spring and A·115 external-spring buffer mounts act as shock absorbers between the robot and the pad. If you see rust, sticking, or a spring that does not return after compression, replace it. A failed buffer lets impacts travel straight into the sealing lip, and that damage is irreversible.
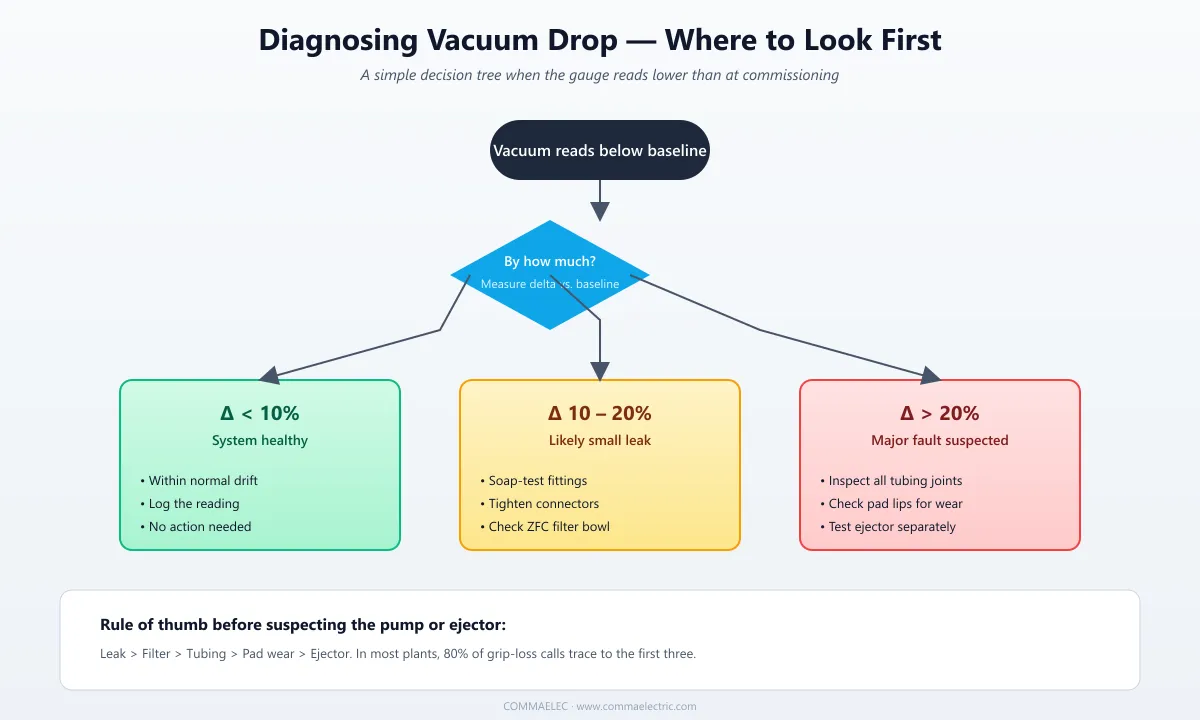
Measure vacuum level. Disconnect the suction cup from the workpiece and read the vacuum at the ejector side. Compare against the baseline you recorded at commissioning:
- Less than 10% drop → system healthy
- 10–20% drop → likely small leak; check fittings
- More than 20% drop → inspect tubing, fittings, lips, and check for wear-out
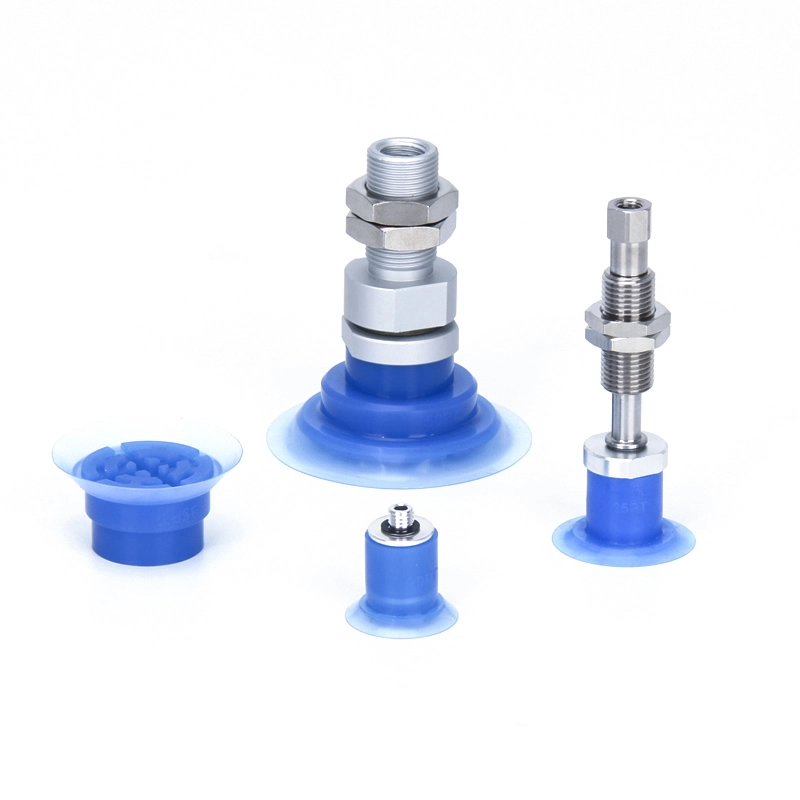
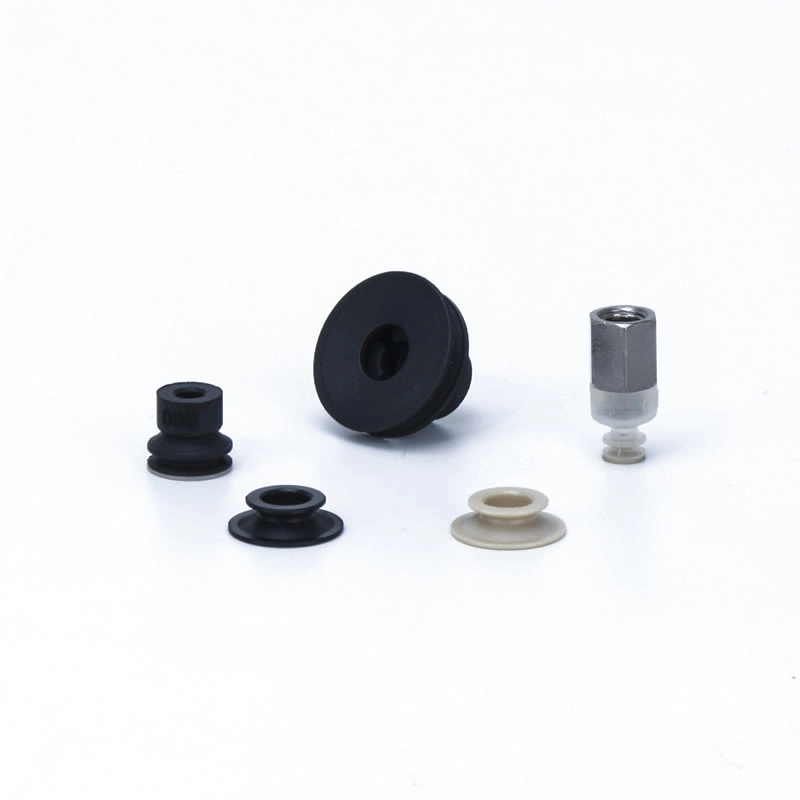
Audit spare parts. Pad bodies typically last 6 to 12 months depending on duty cycle. Seals and O-rings wear out faster. Do a stock check once a month and order replacements a month ahead of need. I have seen production lines stop for a single missing O-ring — do not let that be you.
When You Should Replace, Not Repair
Some conditions mean the pad is done — do not try to nurse it along.
- Cracks deeper than 1mm in the lip
- Visible distortion; the lip no longer seats flat
- Pad body damaged, hardened, or aged
- Same pad in service for more than 12 months under heavy duty
The temptation is to push a pad through "one more shift." Vacuum failures are instantaneous: the moment the seal breaks, the part drops. Know where the line is, and do not cross it for the sake of saving one replacement cycle.
Three Habits Worth Building
Some final habits, if you are starting out.
Keep a register. A simple spreadsheet works: pad model, station, install date, replacement date. Review it monthly and you will never be surprised by a sudden failure.
Photograph old pads when you swap them. New technicians often cannot tell whether a used pad is damaged or just used. A photo library builds your reference quickly.
Stay in touch with your supplier. COMMAELEC has been making pneumatic vacuum components for over a decade. When you hit an unfamiliar situation, an experienced applications engineer can save you hours of guessing.
Vacuum pad design is not complicated, but getting long service life out of one is all about small details done consistently. Build the above into muscle memory and your pads will outlast the ones in the bay next door.
Frequently Asked Questions
How often should I replace a suction cup?
Every 6 to 12 months is a typical range. High-frequency cycles (more than 10 per minute), elevated temperatures, and oily environments all shorten life.
My pad's grip is weakening — is the vacuum pump failing?
Not necessarily. Check for leaks, check the filter, check the tubing, and only then suspect the pump. Most grip loss traces back to the first three.
The lip has oil on it that will not wash off. What now?
Soak for about five minutes in warm water with a neutral detergent, then wipe gently with a soft cloth. For stubborn residue, a small amount of isopropyl alcohol works, but avoid harsh solvents.
Related News
- What Makes Vacuum Suction Cups the Essential Gripping Component in Smart Factories?
- Why Are Short-type Vacuum Suction Cups ZP2-MU Becoming a Smart Choice for Precision Automation
- Why Are No Spring Buffer Sponge Vacuum Suction Cups ZP2 a Smart Choice for High-Precision Automation
- How Can For Film Adsorption Vacuum Suction Cups ZP3P-PT Improve Flexible Film Handling in Industrial Automation
- How Can Bellows Vacuum Suction Cups ZP2-MB Improve Precision Handling Performance in Automated Systems
- How Can Low Friction Direct Mounting Vacuum Suction Cups ZP3 Improve Precision and Efficiency in Modern Automation Systems
Leave me a message